How to Set Up and Fit Your Monil Virtual Fence Collars
Follow the description below to get started with your new Monil collars!

Each animal has its own learning curve when adjusting to the collars and the virtual fence system. Calmer animals often adapt to having the collars on in just minutes, while more nervous or flighty animals may need more time to feel comfortable. Some herds are quieter, and collar placement is a breeze, while others need a cattle shoot. These instructions are based on Monil’s experience; use them with your knowledge. Trust your judgment because you know your herd best.
In preparation for setting up and fitting the virtual fence collars, ensure you’ve downloaded and signed into the Monil App. Next, take the collars out of their boxes and give the instructions a quick look.
Now it’s time for the last step: setting up and fitting the virtual fence collars on your animals. Never fear: the collars are designed for durability and easy fitting. Putting them on is straightforward; we’re here to guide you through it.
Note: The information you find here provides an overview. Check the user manual for detailed collar fitting and training information. If you want a visual, our collar-fitting video clip helps clarify any confusion.
Fitting the Monil Collars on Your Animals
Good planning helps smooth the process of fitting collars. Be sure to review all steps before you start. An initial proper fit prevents the lock button from releasing as the animals move over time.
Setup the Collar
- Unbox the collar
- Press the green button on the electronic device until it flashes green.
- Mount the lock on the end of one strap.
- Scan the QR code on the collar
- Add the collar to your Monli App
Position the Collar
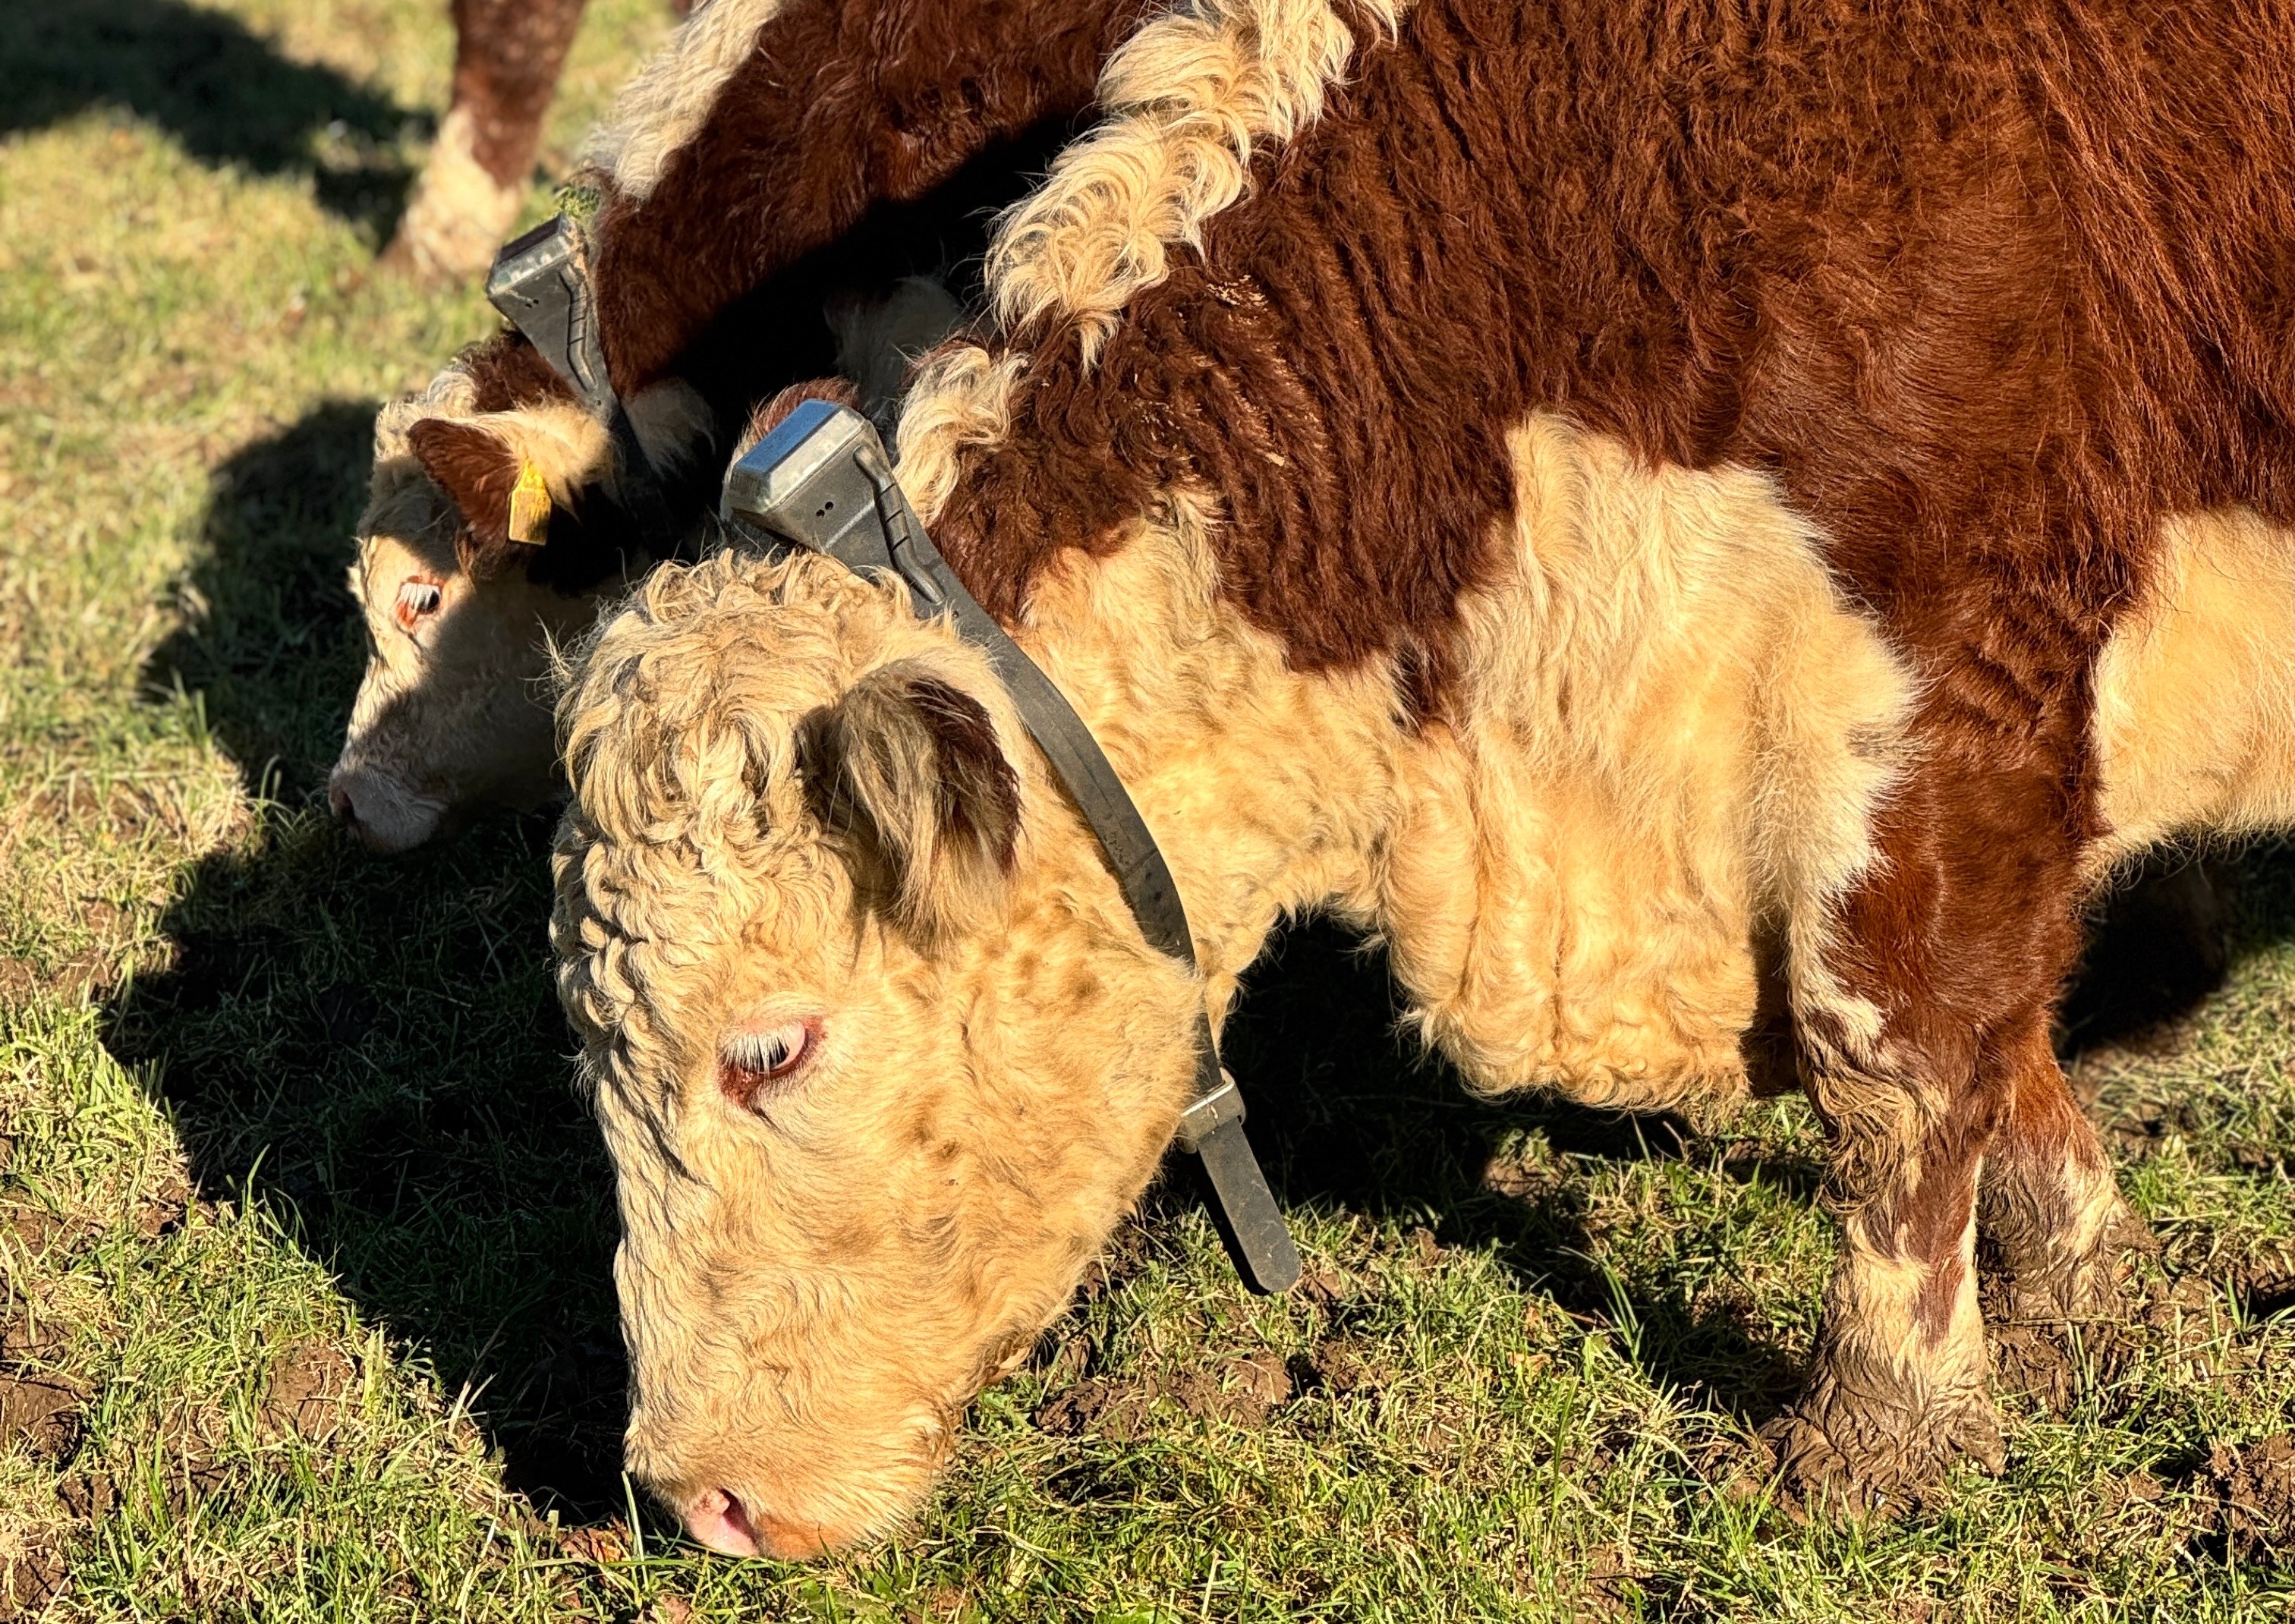
- Make sure the number on the collar faces toward the animal’s head.
- Position the collar on the animal with the mounted lock on the strap furthest from you.
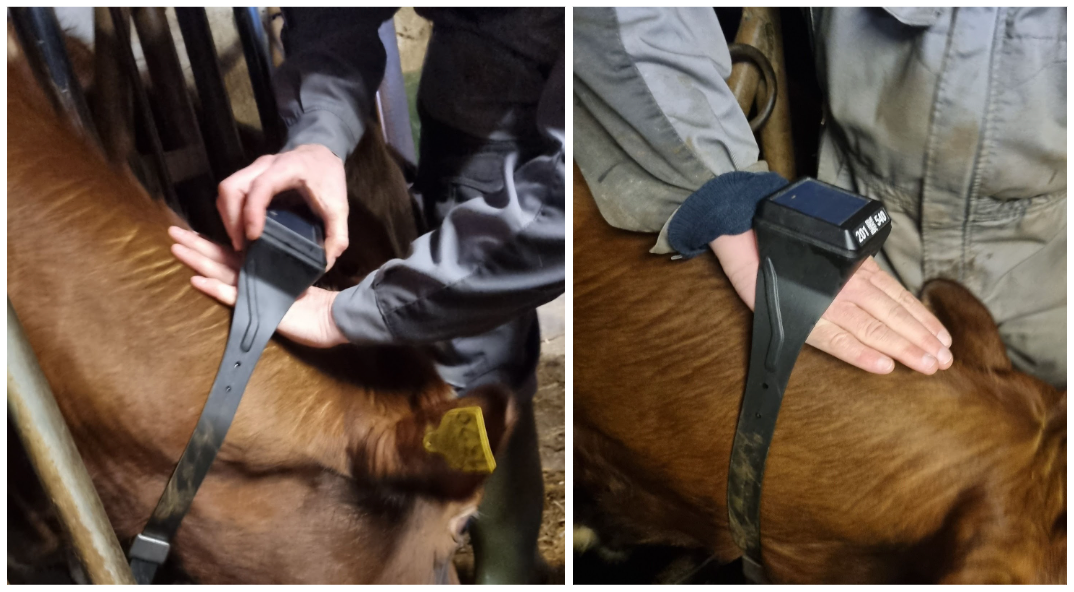
Fit and Lock the Collar
- Place the collar on the upper neck, towards the ears.
- Grab both ends of the collar and turn it to the side so the loose ends face you.
- Attach the straps, ensuring both ends come out of the buckle at the same length.
- Tighten, but keep it loose! The collar should still be able to move easily but not slip off.
Check the Collar Fit
- The collar must be loose enough. A good fit is when your whole palm can easily slide under the electronic device.
- When the animal grazes, the collar will be looser.
Provide time for animals to adjust to the collars
Animals need time to adapt to wearing the collar before training starts. Give them time to wear the collars, and inspect them to ensure the locks are fitted correctly and the electronic unit is pointed in the right direction. You can also use this time as an opportunity to start building fences in the app.
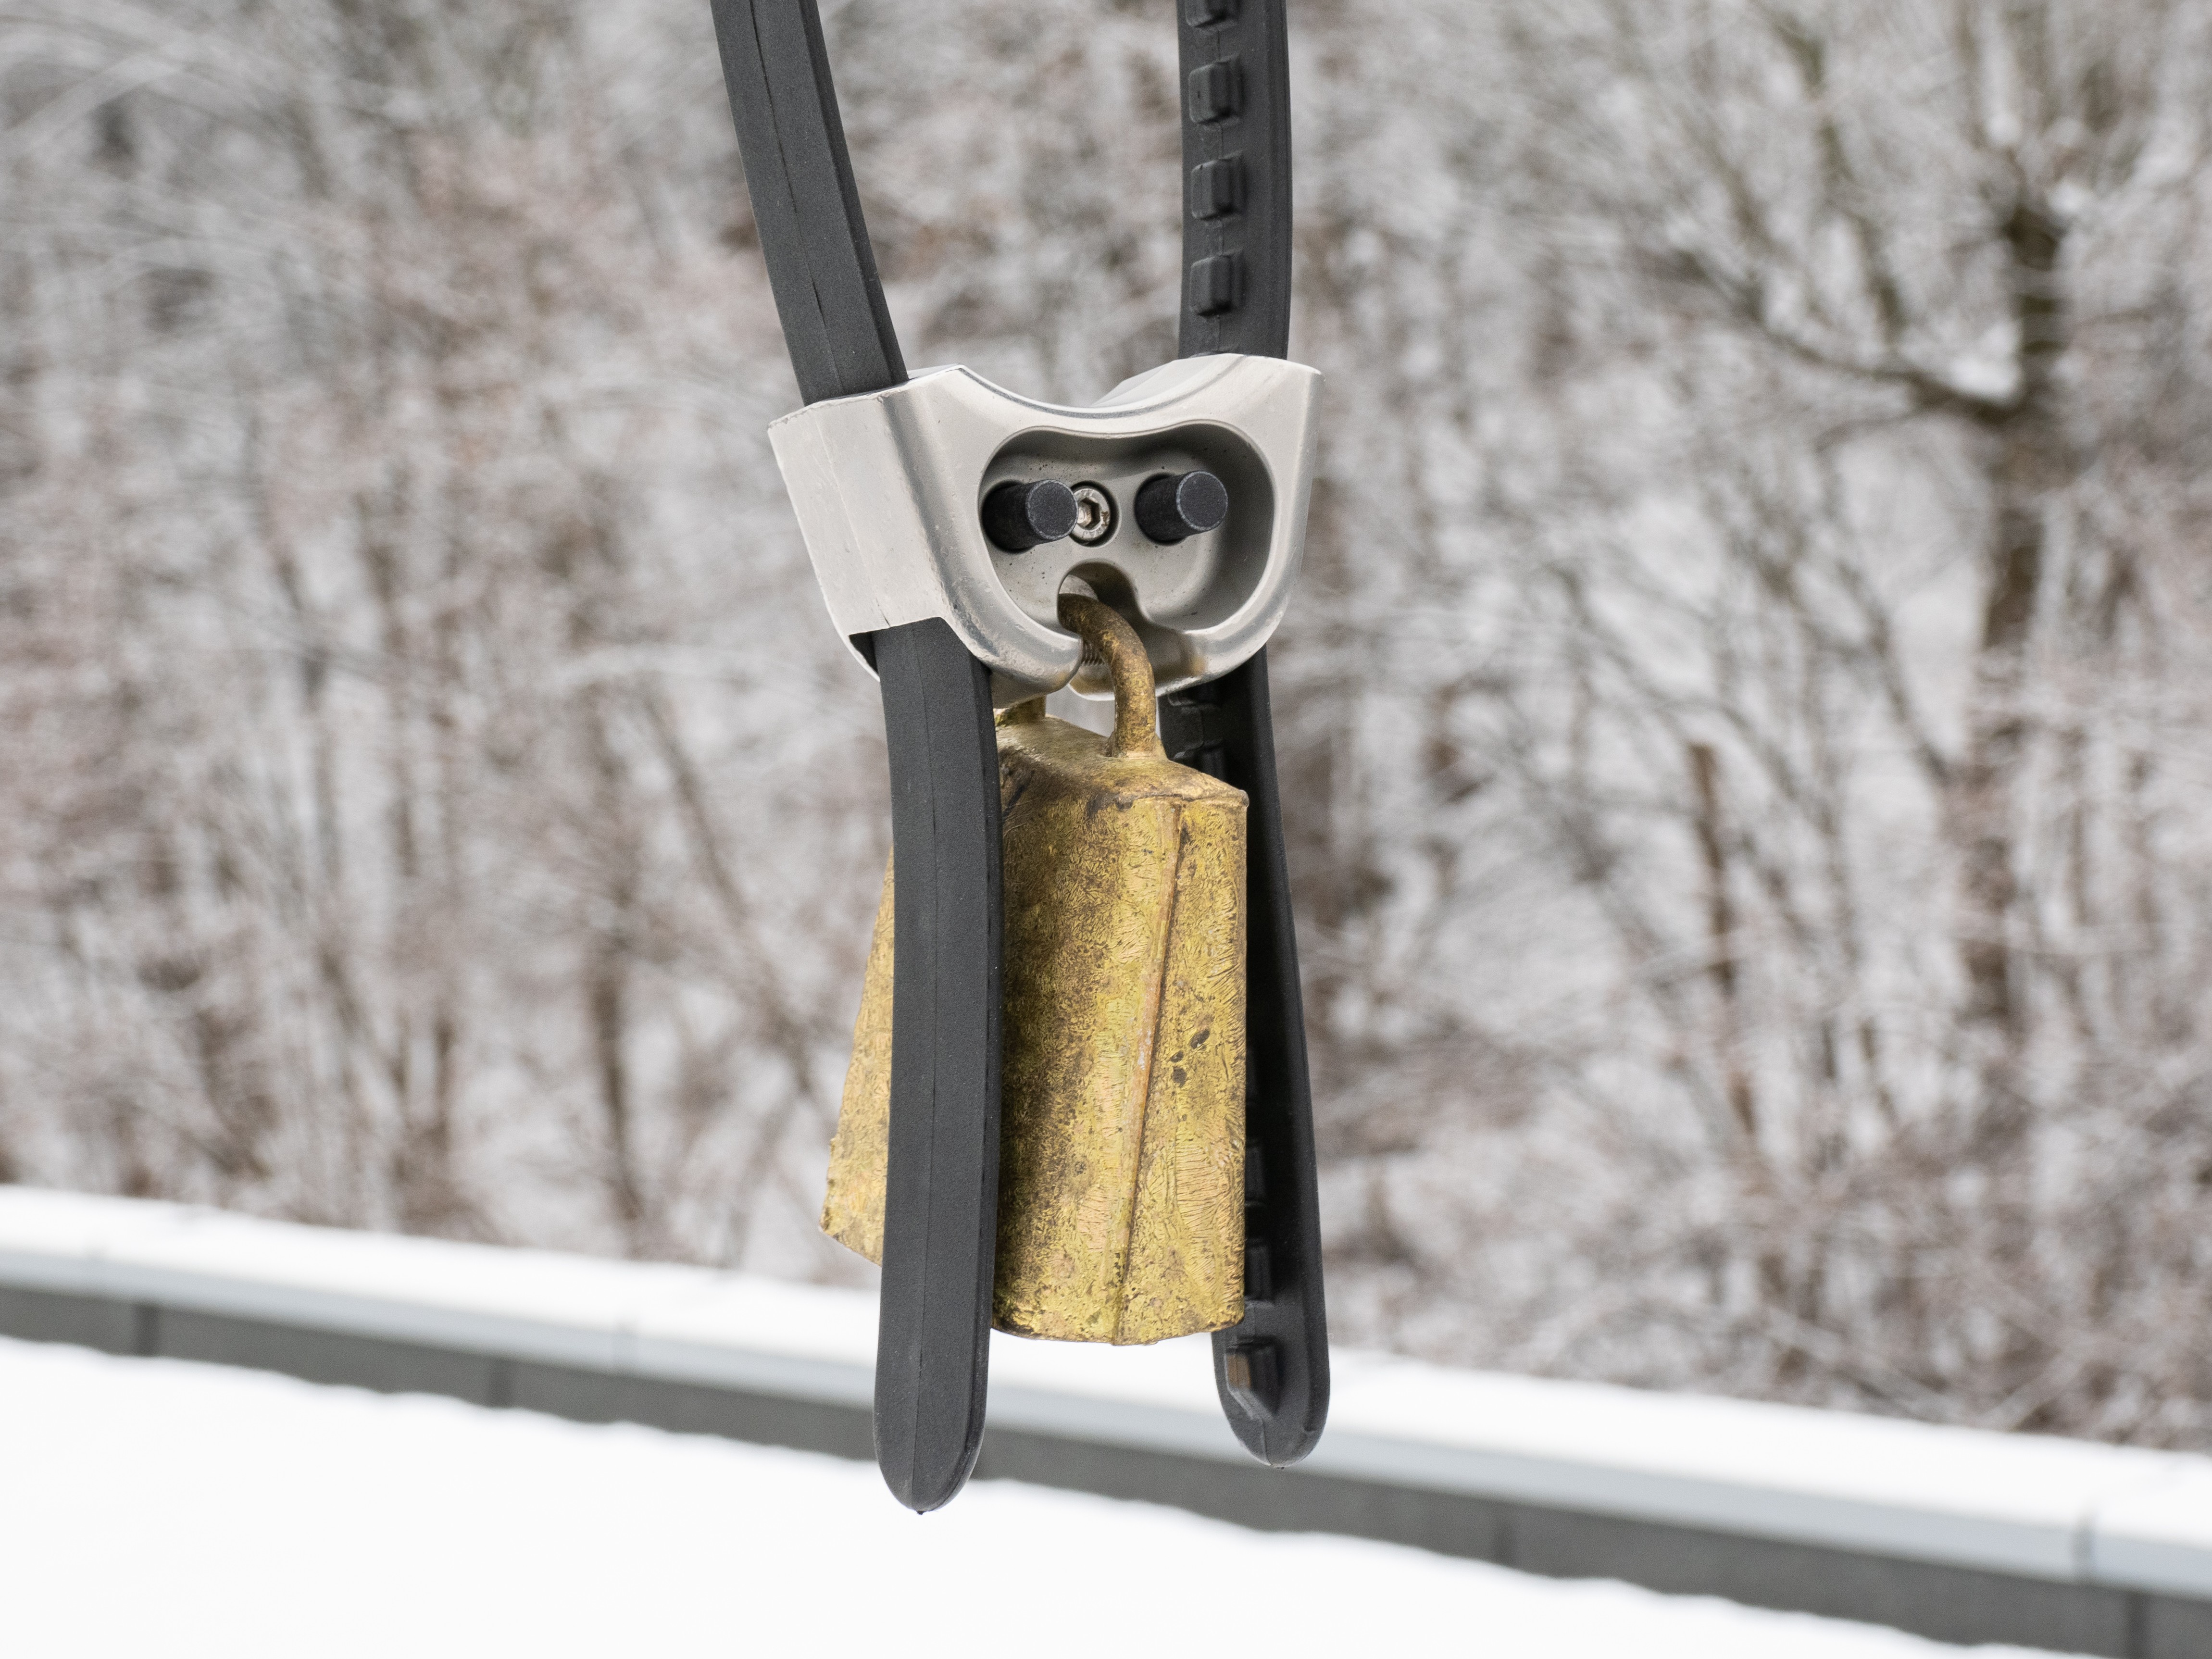
Attaching a Bell to the Virtual Fence Collars
Some farmers prefer bells; around 50% of Monil users use bells on their collars.
The photo below shows how you can easily add bells to the locking device.
Summary for Fitting Collars
It may seem like a lot of information, and we agree. However, the Monil collars are on the animal in three steps:
- Mount the lock on one strap. Prepare to put the collar over the animal’s neck with the lock farthest from you. It’s easier to grab the strap when it’s weighted.
- Place the collar over the animal’s neck, facing forward towards the animal’s head. Remember to position it closer to the ears.
- Check that the collar is loose enough. The collar should rotate freely around the neck. Proper fitting means you can slide your entire hand under the unit on top.
See a demonstration of fitting a collar to review how it’s done or learn more in the user manual.
This article was translated and expanded on by Rebecca Harrisson.